How to Set Up Your Meta Business Manager and Ad Account (Without Losing Your Mind)
- Charles Choi

- Apr 29
- 4 min read
Updated: May 17

If you’re trying to run ads on Meta (think Facebook and Instagram) but you’re still boosting posts like it’s 2016, it’s time for an upgrade. Setting up a Meta Business Manager and a proper Ad Account isn’t just nice to have, it’s mission-critical if you want to grow your business seriously (and stop lighting your budget on fire).
Today, I’m walking you through how to properly set it up - clear, accurately, and without falling into the black hole of Meta’s ad platform.
Key Takeaways
Meta Business Manager = the home base for your business assets (Pages, Ad Accounts, Pixels, etc.).
You need both a Business Manager and an Ad Account to run real advertising campaigns.
Setting this up correctly saves you from future headaches like pixel misfires, billing issues, or lost access to your assets.
Unlock advanced advertising features like Custom Audiences and Bidding Strategies.
Control user access and maintain higher security.
I’ll show you how to set it up the right way the first time (like a real marketer, not someone who clicked “boost” because it was shiny).
The Truth
“Can’t I just run ads through my personal Facebook account or boost posts directly?”
Short answer: You could, but it’s like duct-taping your business together. Boosted posts and personal accounts have major limitations: poor targeting, weak reporting, and no real scalability. Plus, if your account ever gets flagged (which it will, because Meta’s review bots are notoriously spicy), you could lose everything overnight.
Long answer: If you’ve ever tried to run ads by randomly boosting posts or using your personal Facebook profile to set up an ad account, you already know how fast things can go sideways. You end up locked out, payments glitch, pixels don’t track, or worse - your account gets “restricted” for reasons that sound like they were written by bots.
Most small business owners don’t realize that Meta’s ad ecosystem expects you to set things up a specific way, with business verification, asset management, and permissions all connected from Day One.
The painful truth?
If you skip these basics, you’ll hit a wall later when you try to scale - whether that’s higher CPMs, missing data, blocked ads, or full account shutdowns during your biggest sale of the year.
This post is going to show you exactly how to avoid the chaos, set things up strategically, and actually own your data and accounts like a real brand.
The Solution
Following the steps below, you’re going to create a Meta Business Manager and a dedicated Ad Account tied to your business, not your personal profile.
This gives you:
Ownership and control of your assets
Professional ad tools and reporting
Ability to assign team members, agencies, or freelancers safely
Better security and billing management
Access to the real advertising ecosystem (not just the sad “boost” button)
Breaking It Down
Step 1: Prepare Your Assets and Information
A personal Facebook profile.
Business name, address, phone number, and website URL.
Admin access to Facebook page(s) or Instagram account(s).
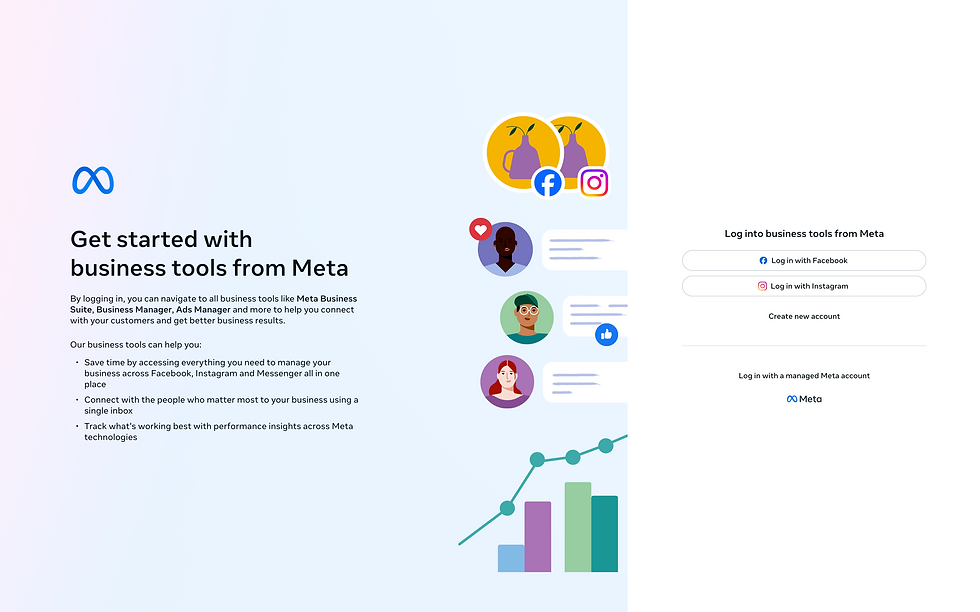
Step 2: Go to Meta Business Suite
Click "Create New Account."
Enter your business information.
Confirm your email address (don’t skip this, Meta loves to gatekeep if you don’t verify).

Step 3: Create Your Ad Account
Under Settings > Accounts > Ad Accounts > Add > Create a New Ad Account.
Choose the correct time zone and currency (this can’t be changed later, so double-check your selections before clicking “Next”).
Assign the Ad Account to your Business Manager.
Step 4: Add Payment Info
Under Settings > Billings & Payments > Payment Methods.
Add a primary payment method.
Set account spending limits if you want to control how much can be spent before pausing (optional).
Pro tip: Add a secondary payment method in case the first payment method gets flagged.
Step 5: Set Up Your Pixel (Optional but Highly Recommended)
Under Settings > Data Sources > Datasets > Add.
Follow the prompts to install the Pixel on your website (either manually or via partner integrations like Shopify, WordPress, Wix, etc.).
This will unlock tracking for conversions, retargeting, and optimization - the real moneymakers.
Step 6: Add a User
Under Settings > Users > People > Invite People.
Invite your team members and assign them the necessary access points and business assets.
Don’t hand out Admin Access unless someone really needs it - minimize the “too many cooks” problem.
For agencies/freelancers, grant them Partner Access instead. Follow my guide to discover how to provide access safely.
Step 7: Launch Your First Campaign
Go to Ads Manager.
Set campaign objectives, build ad sets, and submit ads for review.
BONUS STEPS
Connect Your Instagram Account (Highly Recommended)
Under Settings > Accounts > Instagram Accounts > Add.
Add the Instagram account for your business.
Verify Your Business
Under Settings > Security Center > Business Verification > Start Verification.
Submit required documents to reduce any flags on your account.
Set up Facebook Domain
Under Settings > Brand Safety and Suitability > Domains > Add.
Create a domain or Request access to a domain.
Secure Your Account
Enable two-factor authentication to add an extra layer of security.
Regularly audit permissions.
Conclusion
Setting up a Meta Business Account is foundational for any serious advertiser or business owner. It ensures you have full control, security, and flexibility over your marketing activities. Following a structured approach to setup prepares your business for efficient scaling, better ad performance, and stronger brand management. Whether you're new to Meta Ads or aiming to enhance an existing strategy, this setup process positions you for success.


Comentários